Social Media

          
Showing posts with label Terrain. Show all posts

19 February 2023

Warcry Heart of Ghur Terrain

Quite a big project from last year... the Heart of Ghur terrain set. Incredible scenery, pain in the arse to build and paint but totally worth it.

Having said that, I'd quite like those 8 hours I spent painting all the ropes on the Bamboo bridges and walkways!

Here the process/techniques.

Basecoats

Sprayed Colour Forge Hyrax Brown.

Skeletons - airbrushed Gobi Brown, then up to AK Warm Grey

Bamboo - Morghast Bone, airbrush highlighted Warm Grey

Rope - Vallejo Dark Grey

Tree teeth and other bone features - base-coated AK Warm Grey

Seraphon Ruins - Zenithal Death World Forest then Nugling Green over the brown basecoat

Trees - Rhinox Hide, highlighted Mournfang Brown. Bugmans Glow then Cadian Fleshtone on the upper bit where the teeth are.

Ground bits - Cygor Brown

Rocks - Stormvermin Fur then highlighted with Aminitratum Grey


Wash - dark brown oil wash then matte varnish over everything.

Next up, I highlighted the trees with a dry brush of Gorthor Brown then Baneblade Borwn. I also drybrushed Cadian Fleshtone on the tips. Finally, paint over tree teeth with warm grey and apply a wash of Red Tone to the teeth/tips of the branches

I then highlighted the rest of the bone, bamboo with a dry brush of warm grey.

Apply Athonian Camoshade to the base/lower parts of each piece.

red/brown pigments then gamers grass paper flowers!

5 January 2023

40K Terrain and Scenery

During Spring and Summer 2022, I dedicated about 4 months to working on 40k terrain in preparation for 2022 Nerd Day. This post summarises this effort with photos of each piece I worked on.

23 July 2018

Azyrite Ruins

This week its back to scenery for my AoS woodland board in the form of some Azyrite Ruins.

I wanted to experiment with mounting the Ruins pieces into a base so I could add details such as a textured floor. So, to begin with, I arranged the ruins into 2 sets and glued them to some MDF.


Next, I rolled patches of DAS air-drying modelling clay onto the MDF and used the Temple texture roller from Greenstuff World. The DAS adhered to the MDF with PVA - which turned out to be a mistake as it contributed to the MDF warping.


Once the DAS clay had dried, I mixed up some texture paint from sand, PVA and polyfiller. This was then applied to the bases, taking care not to cover the template floor areas. I then primed the plastic ruins and the temple floor.


To paint the ruins I used the colour scheme detailed in the below WHTV video. The template floor sections were painted Rakarth Flesh > Pallid Wych Flesh > White Scar. In preparation for flocking, the earth parts of the base were painted with Hobbycraft dark brown paint.


And for the flocking, I essentially followed the below video from Lukes APS.


And this is how they turned out! To finish off the pieces I added some aquatic foliage with a hot glue gun and a couple of pieces of twig, glued down with PVA.


And these are the pieces on the board. I'm reasonably happy with how they turned out. I'm a bit annoyed with how much the MDF warped as a result of the PVA glue contracting. Since making these pieces I have switched over to using Extruded Polystyrene as this doesn't warp. It's much more expensive but, in my opinion, that's a worthy trade-off.


Next up I'll be working on Sprinewrack Talons!

9 July 2018

Nerd Day 2018 Battlescape

Last year I hosted a gaming weekend for myself and 3 buddies. I posted about that event here.

This year, the event will be held at the end of August and will focus entirely on the fantasy side of the hobby... Blood Bowl, Age of Sigmar & Shadespire. To help us play Age of Sigmar to its full potential, we will need a suitably awesome board to play on!

The board aesthetic will be themed along the lines of a Ghyran (Realm of Life) forest which has remnants of its Nurgle corruption.

I have already purchased the mat. I went for the PWork Wargames Terrain Mat - Woodland. It's a great mat and is the perfect tone I was after! (e.g. not too dark or bright)


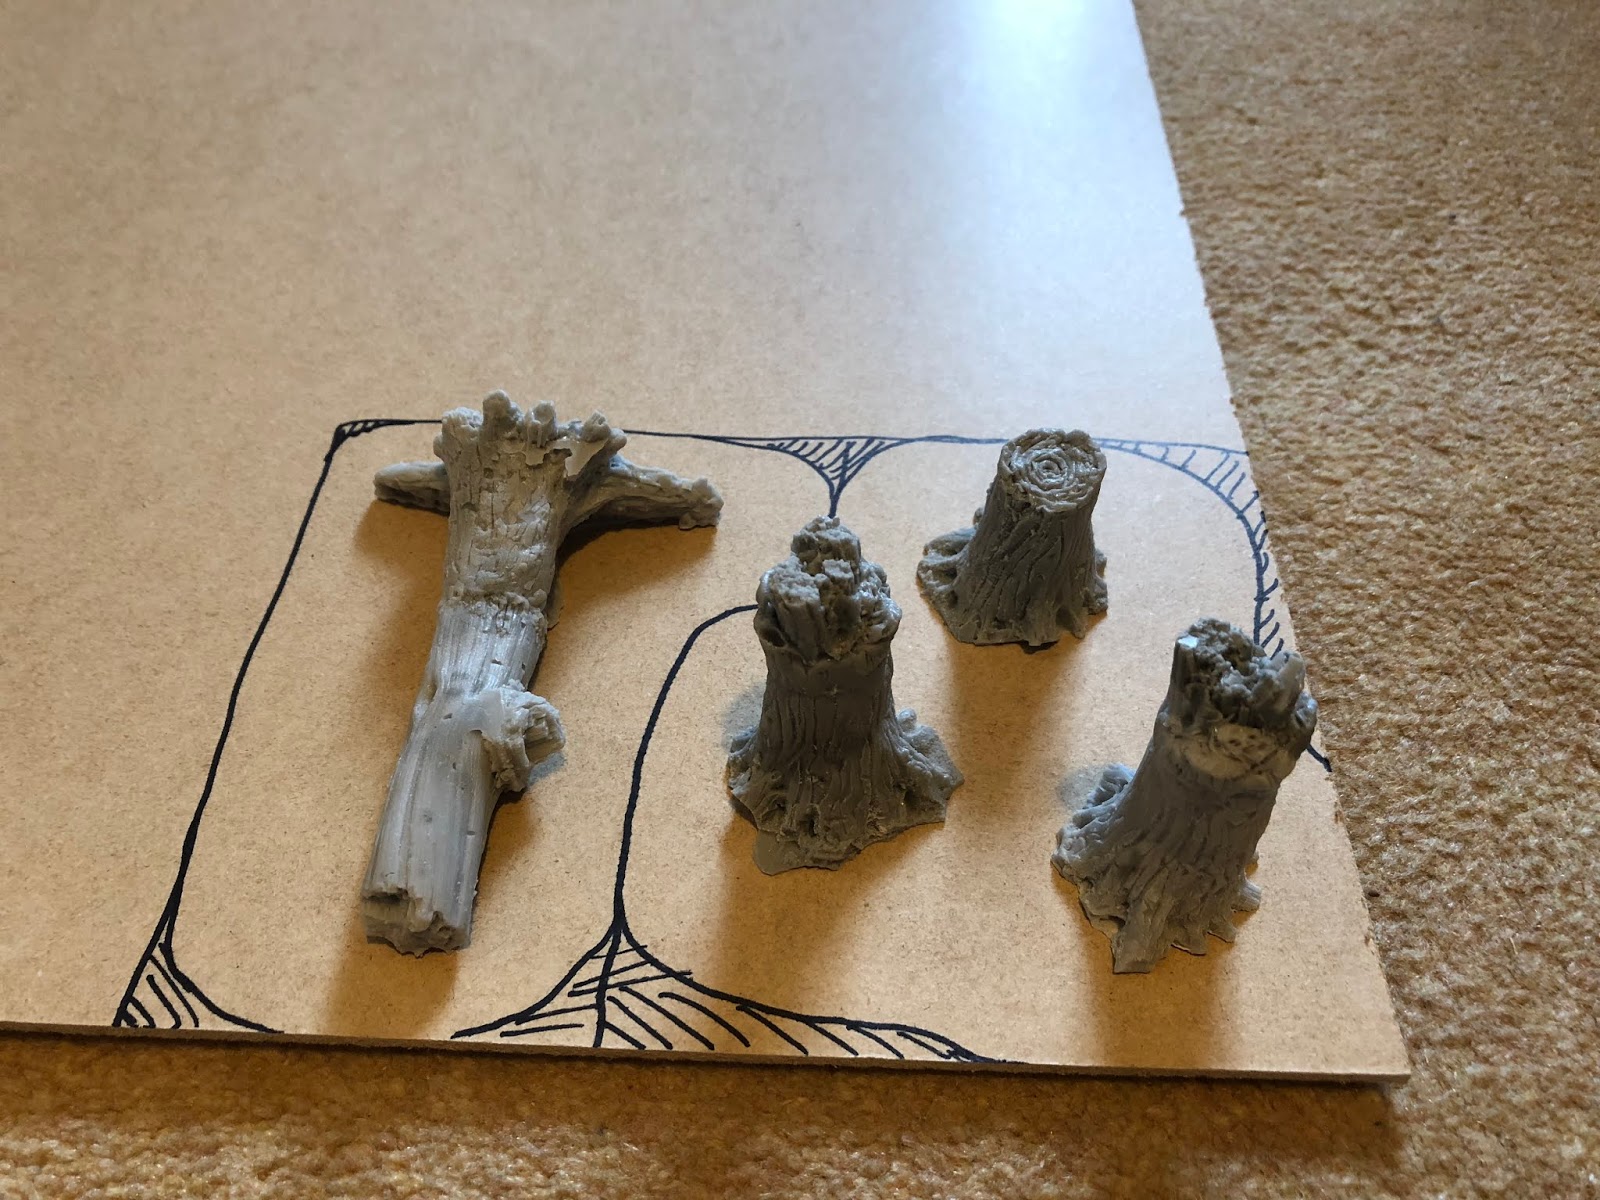
To populate the board I will be adding various pieces of terrain and scenery... e.g. fallen trees, Azyrite Ruins, temple columns and Nurgle trees. I will cover each piece in detail when they are complete. For now, here is some early work in progress pictures of the pieces I've started working on.


25 August 2017

Checkin' In

So I haven't made a post in a few weeks. That's not to say that I've not been working on anything; on the contrary! Next week I am hosting a small gaming event and so it's all hands on deck trying to complete as many models/pieces of terrain as possible.

During this final week of preparation, I'm working on some small pieces of terrain. These will be either objective markers or just general battlefield details.


Currently, these models have all been base coated and highlighted via the airbrush. I've also used a mix of Chaos Black/Dryad Bark to sponge on some paint chips. They were then given a couple of coats of gloss varnish.


Next up I will apply the wash, weathering and final details like rust etc.

10 July 2017

Battlefield Furniture Terrain

A quick win this week: I knocked out a set of resin battlefield furniture!

Aside from the pillow on the bunk bed, these pieces were all painted in the same colour as to not distract whilst on the board.


Initially, these pieces were primed with Vallejo Black Primer. They were then base coated with Mechanicus Standard Grey; after which I airbrushed various lighter shades by adding increasing amounts of White Scar to the Mechanicus Standard Grey.


I then used a sponge to apply a 50/50 mix of Chaos Black and Dryad Bark lightly around the harder edges of the models. The models were then sealed with a couple of coats of Gloss Varnish.


Burnt Umber and Black oil paint was thinned with white spirit and used as washes. After the wash had been given some time to try, white spirit was used to manipulate the wash and clear any residue from the flat panels.


The models were then coated with matte varnish to reduce the impact of the gloss varnish and to protect the paint.


As these are relatively incidental pieces of terrain I didn't want to spent too much time on them and thus chose not to paint any details. Next up is the walkway section of the Shadow War Armageddon scenery.

3 July 2017

Fences!

This set was a purchase made at Salute this year. It's a simple MDF terrain pack so was very cheap! They've come out quit well too.

My aim was to paint these in a colour scheme which matched the design of the fences without being too bright or complicated to paint. I chose a heavily weathered dark red scheme which contains large areas where the metal underneath was showing.


The fences were primed with Vallejo Black Primer. Warplock Bronze was then airbrushed over each piece. I wanted to gain further experience with a technique designed for heavily worn metals where the surface layer of paint had been worn away. This is achieved with hair spray! Once the Warlock Bronze was dried I applied a layer of varnish before several layers of cheap supermarket hairspray.


Once the hairspray had dried I airbrushed Khorne Red over each piece. When this had dried I used a damp brush to loosen the paint and hairspray (as its water based) underneath thus exposing the bronze... aka the bear metal. It's at this point I was presented with a slight problem with my choice of colours - the bronze is too similar to the red so it wasn't as evident that the paint had been worn away!


Once I had finished exposing the bronze paint I applied a layer of varnish to seal/protect the paint. Next up I brushed rust coloured weathering pigment into various areas of each fence. Again this proved as a good learning experience of weathering powders. This was then fixed in place with Vallejo Pigment Binder. 

After the Pigment Binder had dried I lightly drybrushed Leadbelcher along the raised edges of each piece to further enhance the appearance that the fences are metal.

Then, to simulate the build up of dust on the model I mixed up a very diluted solution of Steel Legion Drab and earth coloured pigments and applied 2 coats of this along the lower part of each fence.

Finally, I drybrushed Nercon Compound around the exposed (bronze) areas of each fence in order to highlight the worn away paint.


Next up I'll be working on some small pieces of battlefield furniture.

26 June 2017

Shadow War Armageddon Terrain

Following on from last weeks post, I managed to complete this set of Shadow War Armageddon (SWA) terrain.

As previously mentioned, things went a bit wrong after I applied the gloss shade. Whilst these pieces aren't to the standard I was aspiring to achieve, they look 'OK' and will fit into the board I'm putting together nicely.


Following on from where I had reached on the previous post, once I had drybrushed Averland Sunset onto the models to cover up most of the pesky shade which had settled on the panels, I began applying some light highlights to the main colours; Terminatus Stone for the yellow, Ironbreakder for the metal and Evil Sunz Scarlet for the red.


Next, I applied a coat of VallejonSatin Varnish in preparation for further weathering. The first step was to apply some rust coloured pigment to simulate rust on the models. The pigment was then sealed in place with Vallejo Pigment Binder. Granted that this is hard to see on the models however it was a good learning experience on the use of applying rust weathering powders.


After the Pigment Binder had dried (which took overnight!), I mixed up a very diluted solution of Steel Legion Drab and various earth coloured weathering powders. This solution was then applied to the lower areas of the model to simulate built up dust.


Finally, the models were given a coat of Vallejo Matte Varnish.


Next up is a set of fencing I picked up at Salute.

19 June 2017

Shadow War Armageddon Terrain: Work In Progress

This weeks post covers an update of where I am with part of the Shadow War Armageddon (SWA) terrain. 

As you can see, I've split the terrain into groups based on the main primary colour being applied. In this case- Yellow! (Averland Sunset).

First I'd like to cover where the inspiration came from for the colour scheme. There are loads of great example of colour schemes for the SWA terrain which looks fantastic. It was whilst in my local Warhammer store in Bath that I observed how the store manager had painted the new 40k display and loved it! Whilst the exact scheme I am trying to achieve is not exactly the same as those shown in the photos of the display below, it made up my mind that yellow is the way to go.


 So, I started off my priming the terrain with Vallejo Black primer. This was possibly not the best colour to use underneath yellow as it took many, many coats to achieve any kind of decent coverage.


I also experienced a few problems with my airbrush during this stage so the base coat was uneven and rather 'dusty'.


Once the yellow had been built up to a reasonable level I moved on to painting the details. I picked out various details with Mephiston Red and Leadbelcher. I then painted the mechanicum symbols with Chaos Black/Celestra Grey and filled in the maker stamps with Zandri Dust.


Next up was the first round of weathering- applying paint chips. I created a 50/50 mix of Dryad Bark and Chaos Black and used a sponge to apply the chips randomly across the models. Once this was completed I applied a coat of Vallejo Gloss Varnish in preparation for shading.


At this point things started to go a little wrong! The plan, once the gloss varnish has dried, was to apply a mix of Agrax Earthshade/Nuln Oil gloss shade to the model. What is supposed to happen is that the gloss shade will retain more surface tension when applied to the gloss varnish and so the shade will settle in the recesses without leaving much residue on the large panels. I have used this technique successfully on other miniatures however this time the shade began to break up the gloss varnish and so didn't settle as expected.

I 'solved' the problem as best I could by drybrushing Averland Sunset over the model. Unfortunately this resulted in the models looking chalky (as can happen with drybrushing) however, I'm content with this as its a lot better compared to how the models looked after the shade.


I will continue to work on these models and will post the completed models next week.